Post your reflections on your blog by the end of class tomorrow (10-1).
Wednesday, September 30, 2015
Digital Photo I: 30 Photos That Changed the World
Wednesday, September 23, 2015
Digital Photo I: Alphabet Photography
Using photography and Photoshop, you will create a word in photographs. Take a look at the examples and instructions below.
- Think of a word you can recreate and have it approved with Ms. Baron. The word should be at least 5 letters. You should have a word ready for tomorrow 9-24.
- Look for images which represent letters and create a word in photographs. NO IMAGES FROM THE INTERNET! You should be photographing with your own camera/phone outside of school.
- Edit each of your photos separately in PS (adjust contrast and make b&w, etc.) and then make a new document to put the word in.
- Make your document 16×8 200 resolution and fit your images in to make the word. If you need more space go to Image>Adjust>Canvas Size and re-size bigger.
- Save as a jpeg and post to your blog. This project is due Sept. 30th!
- Critique:
- List 5 valuable things you learned in Photo class so far this year when you post your word photo.
- Critique TWO other classmate's word photos and post your response to the comments here on this post.
![Bella-2d8ynen-xt6eu6[1]](https://cauchonphotoclass.edublogs.org/files/2013/06/Bella-2d8ynen-xt6eu61-1bfb1b9-1024x512.jpg)
![Jerard-1h27dn5-29dxdhe[1]](https://cauchonphotoclass.edublogs.org/files/2013/06/Jerard-1h27dn5-29dxdhe1-1cemyle-1024x170.jpg)
![Cassandra-zl3xp7[1]](https://cauchonphotoclass.edublogs.org/files/2013/06/Cassandra-zl3xp71-1zxsi6w-1024x229.jpg)
YOUR PHOTOS:
 |
| Connie |
 |
| Addy |
 |
| Jade |
 |
| Enrico |
 |
| Sabrina |
 |
| Skye |
 |
| Tim |
 |
| Niki |
Tuesday, September 22, 2015
Digital Photo I: Pop Art/ Andy Warhol
For this photo assignment, you should photograph an object, which is POPULAR IN THE CULTURE TODAY. Think about objects you and your friends/family rely on or enjoy everyday! For practice, use any photo to try out filters and editing effects to try out ideas for your final project. The final photo should contain 4 heavily edited photos. Take a look at Andy Warhol's artwork below to get an idea about how the project is constructed.

Your Project Criteria:

Your Project Criteria:
- Make 4 copies of the photo you chose, 4×6 or 6×4 (200 res) each, saving them Warhol 1, Warhol 2 and so on…
- Work on each picture separately, experimenting with all the techniques we learned in class so far (filters, hue/saturation, gradients, colors, patterns, and more…) make sure there is contrast between the subject and the background!
- When you complete the 4 individual photos, merge the layers in each.
- Open a new document in Photoshop, 8×12 or 12×8 (200 res).
- Select and move the four individual photos into the new document.
- Save as a jpeg and post to your blog.
 |
| Addy |
 |
| Colin |
 |
| Connie |
 |
| Jade |
 |
| Sabrina |
 |
| Skye |
 |
| Enrico |
 |
| Tim |
 |
| Ivan |
 |
| Alegna |
Monday, September 21, 2015
Digital Photo I: Meaningful Text Portrait
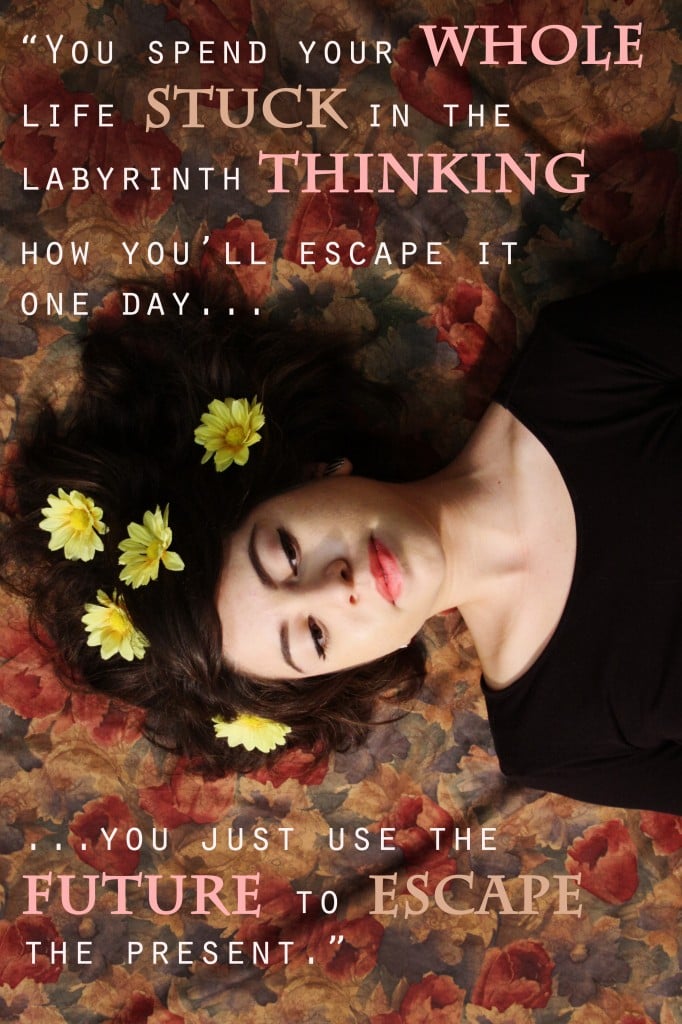
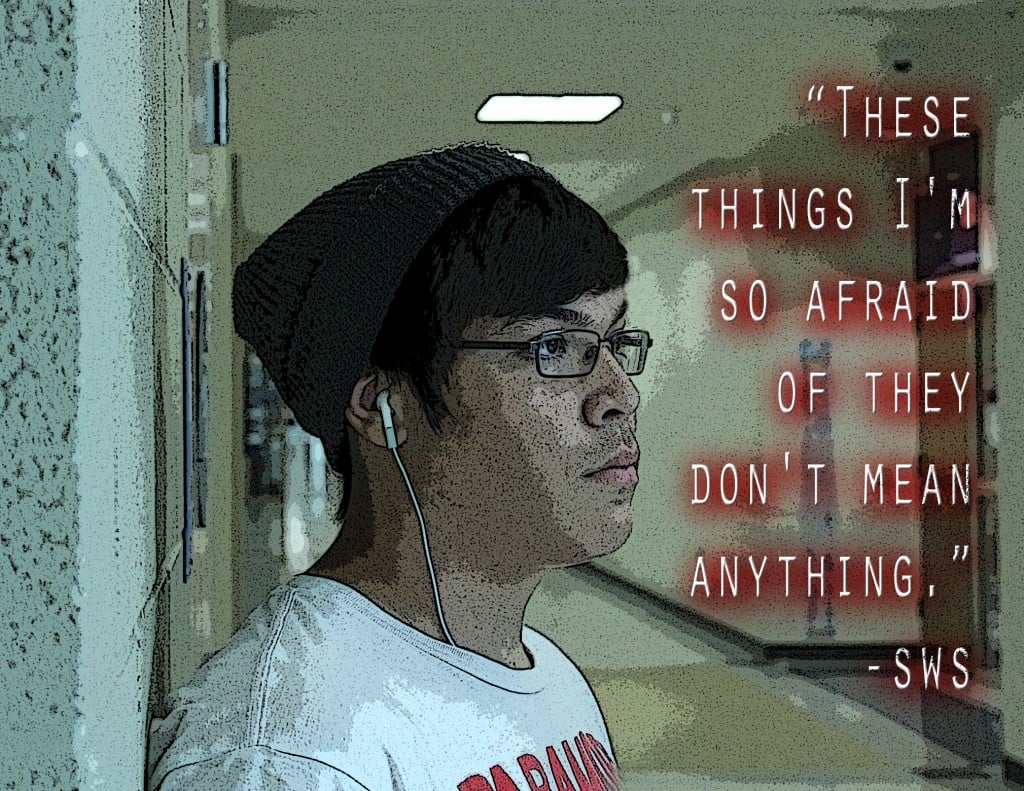
Take a self portrait. Edit your photo in Photoshop and add meaningful text which works with the photo to convey something about yourself. Write 5 sentences describing your work and why you choose your text. Post your work to your blog. Examples:


YOUR PHOTOS:


YOUR PHOTOS:
 |
| Jade |
 |
| Ivan |
 |
| Tim |
 |
| Enrico |
 |
| Connie |
 |
| Addy |
 |
| Alegna |
Sunday, September 20, 2015
Digital Photo II: Advertising Photography
For this assignment you will create a photograph that would be used for advertising purposes. First you will research advertising photography on the Internet to generate ideas. Take a look at how products are photographed for magazines, websites, and tv. Think about products you purchase and how well they are advertised. You will write a proposal before you begin to shoot. Answer the following questions:


- Who is the client, or company you are representing?
- What is the product?
- Who is the target audience?
- Where would you expect to see this advertisement?
- What kind of lighting are you going to use to make this look professional?
- What props do you need?


Friday, September 18, 2015
Digital Photo I: Weekend Work #5
One of the absolute best ways to improve your photography is
to practice!
Doing is the best way to see results. In order to help you practice your photography, I will be posting a different assignment each Friday here on this blog for you to complete over the weekend. Be sure to post your shots on your blog before Monday so everyone can enjoy the results of these assignments when we are back in class, period 1. Make sure to title your post "Weekend Work #5" Each Weekend Work assignment is worth 5 points in the practice work category.
This weekend's assignment is:
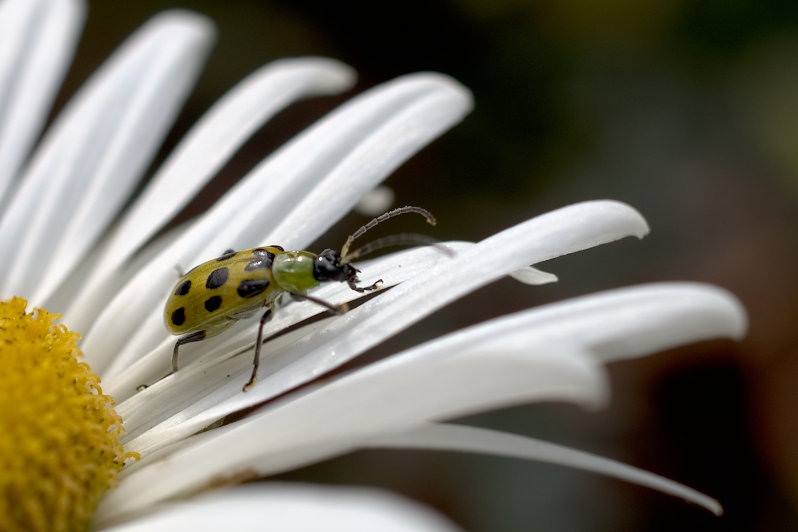
During the weekend, take multiple photos of nature. You can focus on landscape scenes, plants, animals, insects, weather, etc. Post at least 3 photos from from nature that you took to your blog. Have these posted by Monday 9-21.
Some Examples:

Thursday, September 17, 2015
Levitation Photo Tutorial
If you need help, follow these steps to create a successful levitation photo using Photoshop techniques.
Levitation Tutorial

Levitation Tutorial

Wednesday, September 9, 2015
Weekend Work #4: Levitation Photography D.P. I & II
Levitation Photography
Take a look at this helpful article about creating believable levitation photos. There are several methods listed, but some create a better image than others. Also view the examples below that show some additional ways to consider levitation photography. Post three examples that you would like to use as inspiration/reference on your blog by the end of class today. Have a model or yourself photographed for your own levitation photo by Monday (9-14).


YOUR PHOTOS:
 |
| Addy |
 |
| Tim |
 |
| Sabrina |
 |
| Jade |
 |
| Niki |
 |
| Connie |
Tuesday, September 8, 2015
Digital Photo I: "Grunge" Portrait Using Layers, Selections, and Textures

Before you take a look at the tutorial below, make sure you have the following:
Your portrait file
A texture file (google any texture you like)
A paint splatter file (google and paint splatter you like)
Follow this tutorial:
Grunge Portrait Tutorial
YOUR PHOTOS:
 |
| Connie |
 |
| Niki |
 |
| Jade |
 |
| Sabrina |
 |
| Enrico |
 |
| Ivan |
 |
| Alegna |
 |
| Addy |
 |
| Susan |
 |
| Skye |
 |
| Colin |
Subscribe to:
Comments (Atom)
